
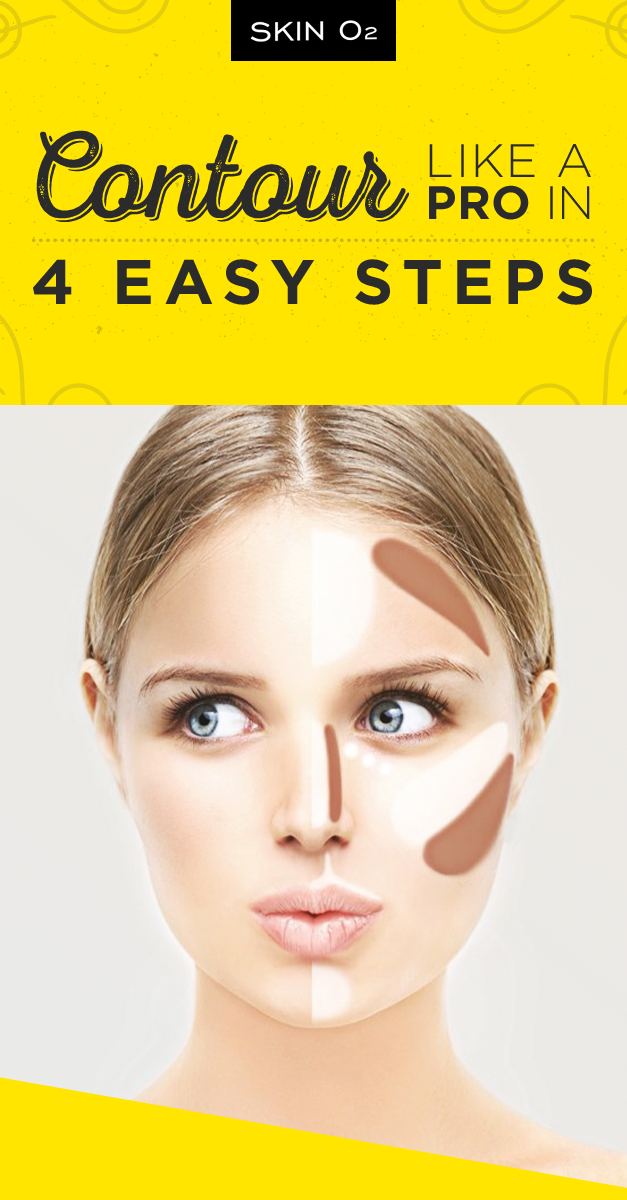
Contour Like a Pro in 4 Easy Steps
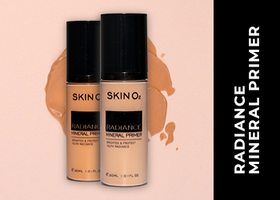
Step 1: Care to prep
After your basic skincare routine, it’s time for contouring prep! Priming can work miracles for your other products to have optimal results. Using the Mineral Radiance Primer, you can use your trusty brush to buff away open pores. Afterwards, pat a bit of Mineral Makeup Powder with a sponge or beauty blender to enhance the airbrush effect!
Sep 2:
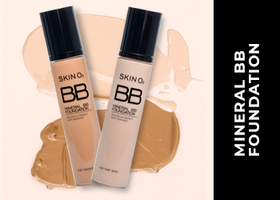
Cover your base
Go for a base that evens out your skin tone, emanates a radiant finish from within and boosts your concealer game! Have you tried the Mineral BB Foundation? It has stem cell technology and hyaluronic acid that not only cover blemishes and lines but also reduces them. Have your skin smooth and ready for some contouring and strobing!

Step 3: Map and contour

Contouring often involves at least 2 foundation shades – one that is two shades darker than your skin tone and another that is two shades lighter. For the former, the basic strokes go 1) along the temples, 2) the areas beside the nose bridge, 3) the hollow parts below the cheek bones, and 4) along the jawlines and chin. The most important takeaway here is you should blend it well with your foundation, using your fingers, a blender or a Kabuki brush.
Step 4: Strobe to shine

Strobing, more commonly known as highlighting, follows next to offset the contouring effect – opt for a concealer two shades lighter than your complexion or a highlighter to illuminate the parts that naturally catch light (such as the brow bones and cheekbones). Confused with what to use? Try a 2-in-1 concealer & highlighter that saves you both time and money!
Of course, we all take on different face shapes – and knowing which contouring and highlighting strokes work best for your shape make all the difference!
Heart shape: Contour along the temples to balance the din and the forehead, and in the hollow area below the cheekbones by creating a line from the ears to the middle of the cheeks. Finally, dab a bit below your chin to soften that part. For highlighting, create a triangle shape below the eye area, and draw lines in the middle of your chin and forehead for a broadening effect.
Diamond shape: Contour below the cheekbones, from the ears extending until the middle of the cheeks; highlight under the eyes drawing a triangle shape and extending along the brow bones to make your eye area brighter.
Round shape: Contour along the temples for a narrowing effect, and from the ears to the middle of the cheeks and going down to the jawline for face lengthening. Highlight the middle of the forehead, middle of the chin and under the eyes.
Square shape: Contour the sides of the forehead to make the hairline area narrower, as well as the jawbone for the same effect. Highlight along the brow bone and under the eyes.
What are your waiting for, Skinlovers? Blend away to look more chic and chiseled!